Using the Operation Panel
The operation panel consists of the ON button (A) and touch screen (B).
Touch the HOME screen on the touch screen with your finger tip to select menus for copying, scanning, and other functions.
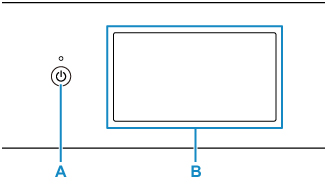
- A: ON button
- B: Touch Screen
Basic Operation of the touch screen
Touch the touch screen lightly with your finger tip or move your finger to access various functions or settings.
 Important
-
When operating the touch screen, make sure to avoid the followings, which may cause the printer to malfunction or damage the printer.
-
Strongly pressing the touch screen.
-
Pressing the touch screen with other than your finger (especially with sharpened tips, such as on ballpoint pens, pencils, or nails).
-
Touching the touch screen with wet or dirty hands.
-
Placing any objects on the touch screen.
-
-
Do not attach a protective sheet on the touch screen. Removing it may damage the touch screen.
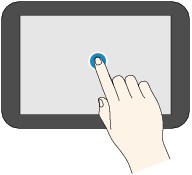
Tap
Touch lightly with your finger tip and immediately release.
Use to select an item or photo on the screen.
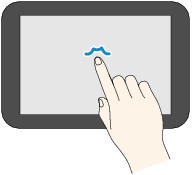
Touch
Touch lightly with your finger tip.
To move forward (or go back) menus or photos continuously, keep touching the forward (or back) mark.
Flick
Flick your finger on the screen up, down, left, or right.
Use to switch menus or move forward or backward through photos.
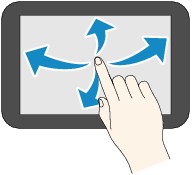
Drag
While lightly touching the screen, move your finger up, down, left, or right.
Use to view lists of items or move sliders.
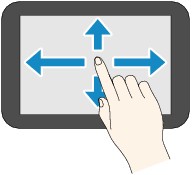
Operations on the HOME Screen
Display the menu screen or the settings screen from the HOME screen.
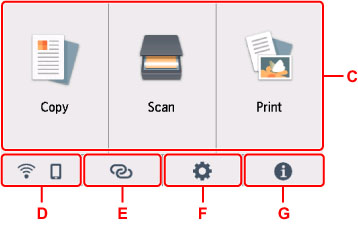
- C: Basic menu
-
Select to copy or scan using the operation panel. After selecting a basic menu, the particular menus are displayed.
- D: Network
-
Displays the current network status. Select to display the basic network information or to change the network settings.
The icon differs depending on the network of use or the network status.
 Wi-Fi is enabled and the printer is connected to the wireless router.
 Note
Note-
Depending on the signal state, the icon will change.
 (Signal strength: 81 % or more): You can use the printer over Wi-Fi without any problems.
 (Signal strength: 51 % or more): The problem such as the printer cannot print may occur according to the network status. We recommend placing the printer near the wireless router.
 (Signal strength: 50 % or less): The problem such as the printer cannot print may occur. Place the printer near the wireless router.
 Wi-Fi is enabled but the printer is not connected to the wireless router.
 Wireless Direct is enabled.
 Wi-Fi and Wireless Direct are disabled.
 -
- E: Wireless connect
-
Select to connect the printer to a smartphone/tablet over Wi-Fi through Easy wireless connect.
Tap this button to display a confirmation screen for starting a connection. Touch and hold this button to switch to the standby mode for Easy wireless connect.
- F: Setup
-
Displays the printer's setting menus or the maintenance menus.
When there is an update notification or information from PIXMA/MAXIFY Cloud Link, NEW appears on this button.
- G: Hint
-
Displays quick guides about such procedures as loading paper and troubleshooting and such information as estimated ink level and system information.
Icons on Touch Screen
While operating on the touch screen, some icons are displayed on the touch screen.
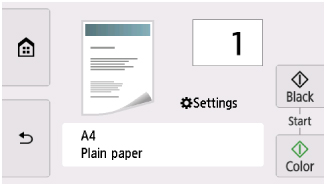
 (HOME)
- Displays the HOME screen.
 (Back)
- Returns the touch screen to the previous screen.
- Black
- Starts black & white copying, scanning, etc.
- Color
- Starts color copying, scanning, etc.
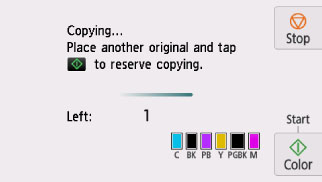
- Stop
- Cancels operation when print, copy, or scan job is in progress.

